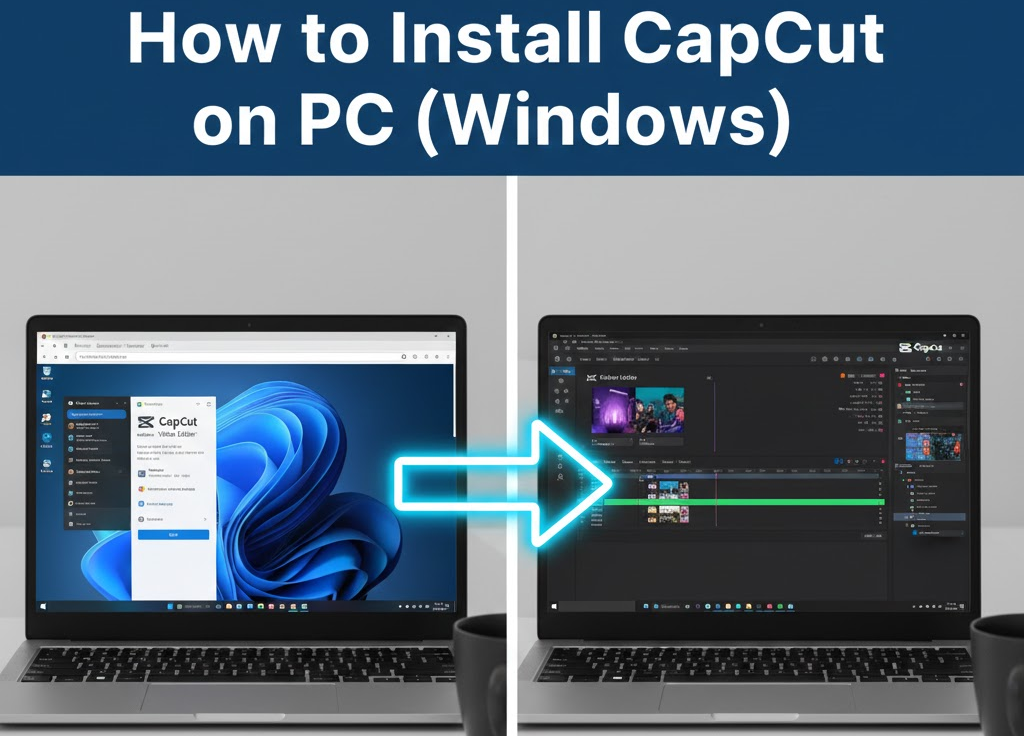
CapCut is one of the most popular video editing tools today, especially for content creators on YouTube, TikTok, Instagram, and Facebook. While many people know CapCut as a mobile app, it also has a full desktop version for PC, offering better performance, a larger workspace, and more precise editing.
In this guide, you’ll learn how to safely install CapCut on a Windows PC, step by step, without errors.
System Requirements (Important)
Before installing CapCut, make sure your PC meets these requirements:
- Windows 10 or Windows 11 (64-bit)
- At least 8GB RAM (4GB minimum, but not recommended)
- Intel i3 / AMD equivalent or higher
- Stable internet connection
- At least 5GB free disk space
Method 1: Install CapCut on PC (Official & Recommended)
This is the safest and best method.
Step 1: Visit the Official CapCut Website
Open your browser and go to the official CapCut site:
Always use the official website to avoid malware or fake installers.
Step 2: Download CapCut for PC
- Click Download
- Select Windows
- The installer file will download (
CapCut_Setup.exe)
Step 3: Install CapCut
- Double-click the downloaded installer
- Click Install
- Wait for installation to complete
Once finished, CapCut will launch automatically.
Step 4: Sign In (Optional but Recommended)
You can use CapCut without signing in, but logging in gives you access to:
- Cloud projects
- Effects and templates
- Cross-device sync
You can sign in using:
- TikTok
Method 2: Install CapCut from Microsoft Store
This method is useful if your PC restricts external installers.
Steps:
- Open Microsoft Store
- Search for CapCut
- Click Install
- Launch after installation
Note: The website version is often updated faster than the Store version.
Method 3: Install CapCut Using Android Emulator (Not Recommended)
Some users install CapCut using emulators like BlueStacks or NoxPlayer. This is not recommended because:
- Poor performance
- Limited features
- Higher system usage
Only use this method if your PC cannot install the desktop version.
First-Time Setup Tips
After installing CapCut:
- Go to Settings → Performance
- Enable GPU acceleration (if available)
- Set preview quality based on your system
- Choose project save location carefully
These steps improve performance and reduce crashes.
Common Installation Issues & Fixes
CapCut Won’t Install
- Make sure Windows is updated
- Disable antivirus temporarily
- Run installer as Administrator
App Crashes on Launch
- Update graphics drivers
- Disable background apps
- Check RAM availability
No Sound or Lag
- Update audio drivers
- Reduce preview resolution
- Enable hardware acceleration
Why Use CapCut on PC?
- Bigger screen for precise editing
- Faster exports
- Better keyboard & mouse control
- Ideal for long-form content
CapCut on PC is perfect for creators who want professional-level editing without complicated software.
Final Thoughts
Installing CapCut on PC is simple, safe, and worth it if you’re serious about video creation. The desktop version unlocks more control, better performance, and a smoother workflow compared to mobile.
If content creation is part of your journey, CapCut on PC is a solid tool to master.